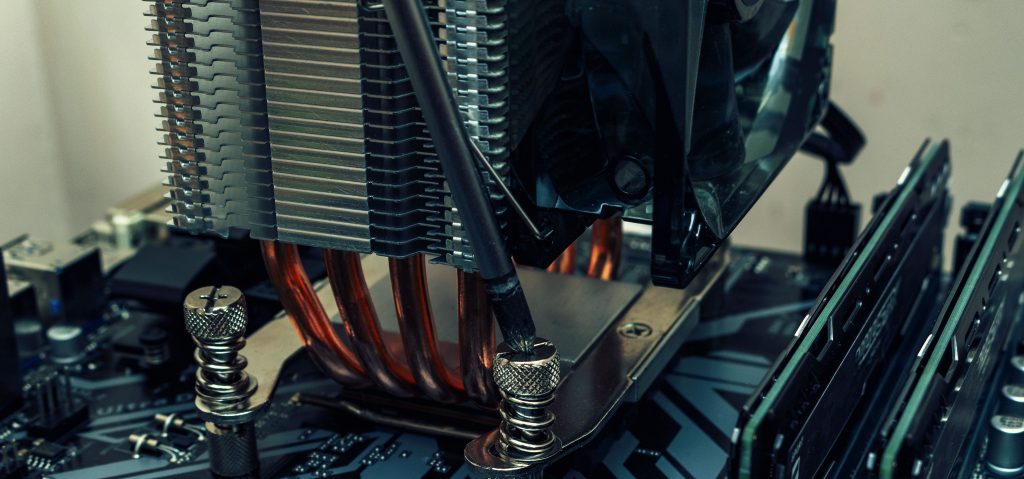
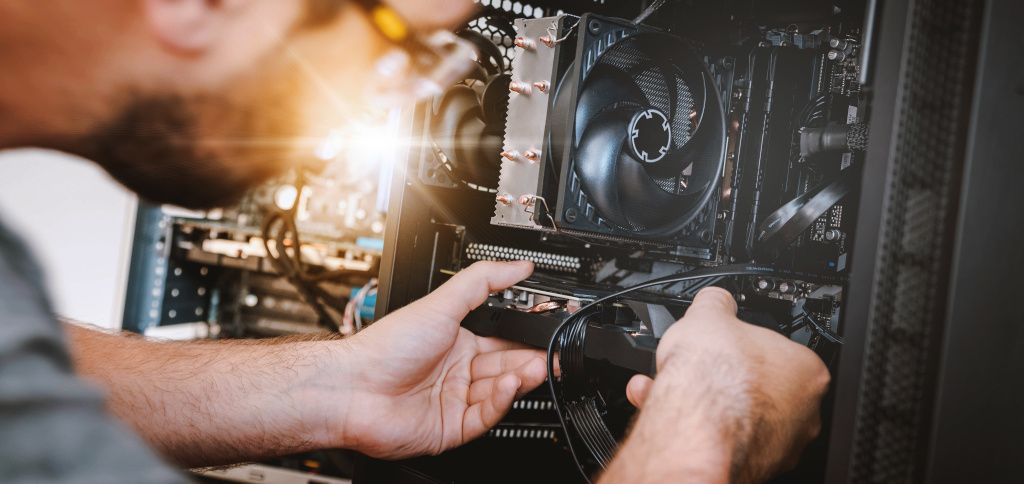

A noisy computer fan can point to dust, heat or failing parts. Learn when to get it checked before overheating causes bigger problems.

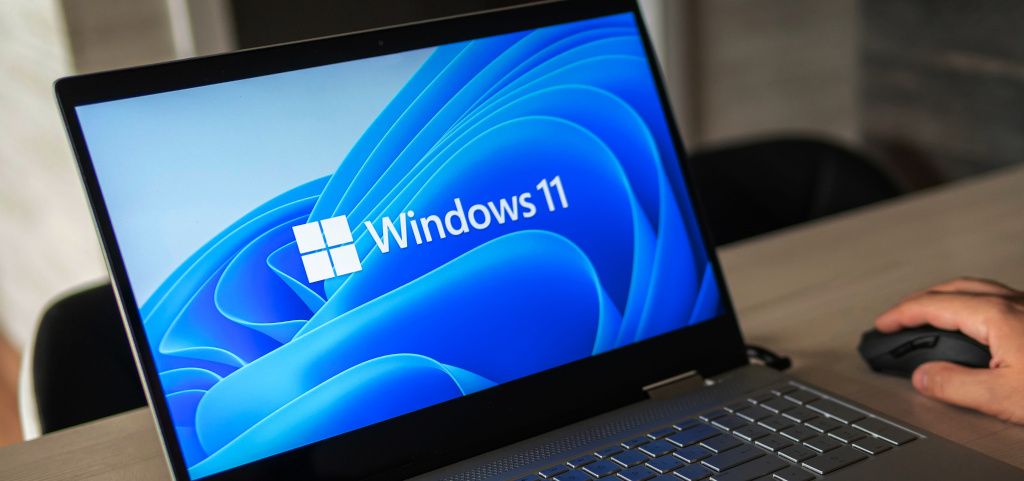
Learn what driver updates do, why they matter, when to install them and when expert software support is the safer option.

If your laptop takes forever to start, freezes while browsing, or struggles to open basic programs, you are not alone. Many people assume